Michelle Moody
ust the other day, I was discussing the concept of the “summer slide” with a friend. We both agreed it was a real thing for us when we took the entire summer off from homeschooling. Our kids seemed to forget as much as they remembered!
Our family settled on a summer schedule where we continued with reading, math worksheets and games, and science. But our science turned out to be science projects that were kept on the patio, in the garden, or at one end of our long kitchen table.
Each summer, we always had at least two batches of butterfly larvae. We also have been known to raise crickets from the yard in a shoebox and to feed the lizards and skinks that lived between the cracks of the driveway and house. Summer brings some unique science opportunities!
Whether you homeschool year-round, do an abbreviated course of study, or take a break altogether, you can beat that summer slide with fun science ideas!
UV Color-Changing Beads
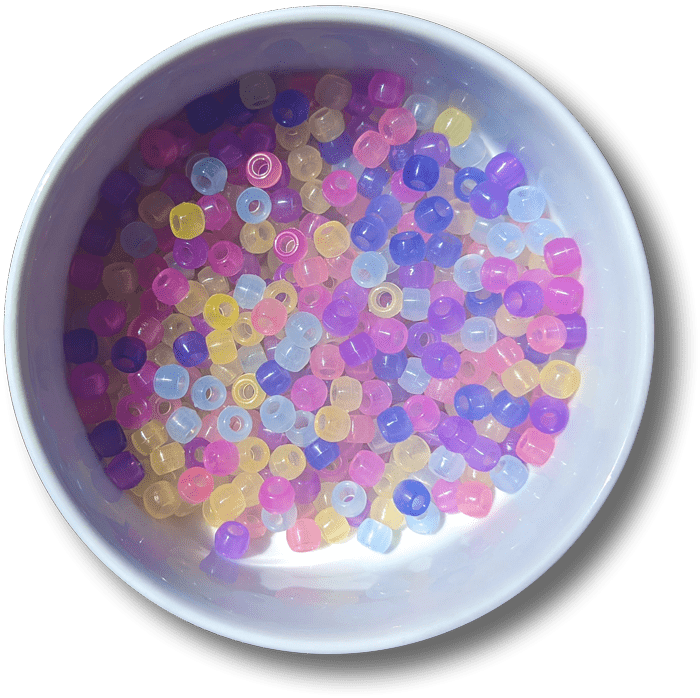
UV color-changing beads are an engaging way to talk about ultraviolet light and why it’s important to protect our skin in summer from UV rays. They can be used in a variety of applications—such as jewelry, toys, and scientific experiments—to demonstrate the effects of UV light and provide a visual representation of its presence.
This past March, I returned to a school in Bangladesh where I taught in 2019. I brought packs of these beads and chenille sticks with me. Everyone, even the adults, had a great time with these fun beads. Thankfully, the sun was strong enough there in March to get an excellent color contrast.
What will happen if we cover the beads with black paper?
A heavy book?
What will happen if we take them into the shade of the screened porch or garage?
What happens if we put them on the car dashboard in the sun?
Or move them to the floor of the car out of the sun?
Then, test their hypotheses.
When the beads are removed from the UV light source, they gradually return to their original color as the photochromic dye molecules revert back to their original structure.
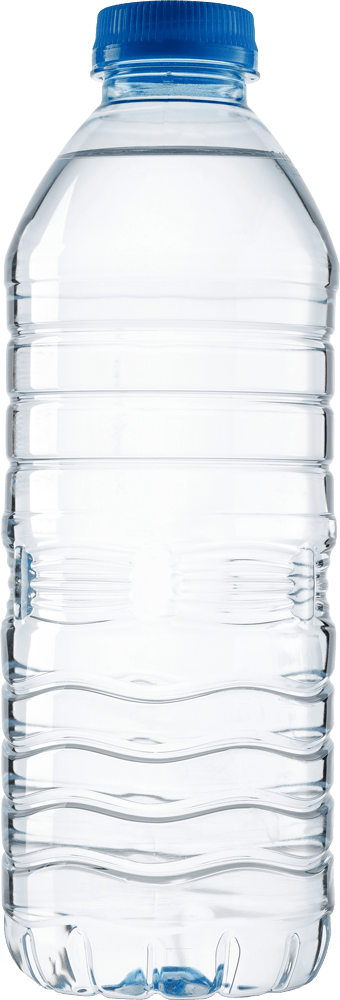
For water to change from its liquid state to its solid state, ice, the water needs to be at or below 32°F. But did you know that sometimes water can be supercooled below this temperature and still not freeze?
In this experiment, we will take supercooled, purified water and use it to make instant ice. You will need just a few supplies:
- 4 or 5 bottles of purified water
(double-check the label on the bottle) - ice cubes
- a bowl
Place your bottles of water in the freezer for two hours and fifteen minutes. After the time is up, carefully examine the bottles. They should still be liquid but now have a few ice crystals floating around in the bottle. If your bottles do not have the ice crystals, put them back for fifteen more minutes and check again every fifteen minutes until the water is cold enough.
When the water bottles are ready, very carefully remove them from the freezer. Do not shake them, and place them very gently on a flat surface.
Place a handful of ice cubes in the bowl. Carefully, pour the supercooled water over the ice cubes. The water should form slushy ice formations on top of the ice cubes. If your water doesn’t, it isn’t cold enough. Place it back into the freezer for fifteen minutes and try again.
This experiment may not work with the first water bottle. That is why four or five bottles are recommended. There are lots of variables in play, such as the temperature of the freezer, the water quality, and how the supercooled water is handled.
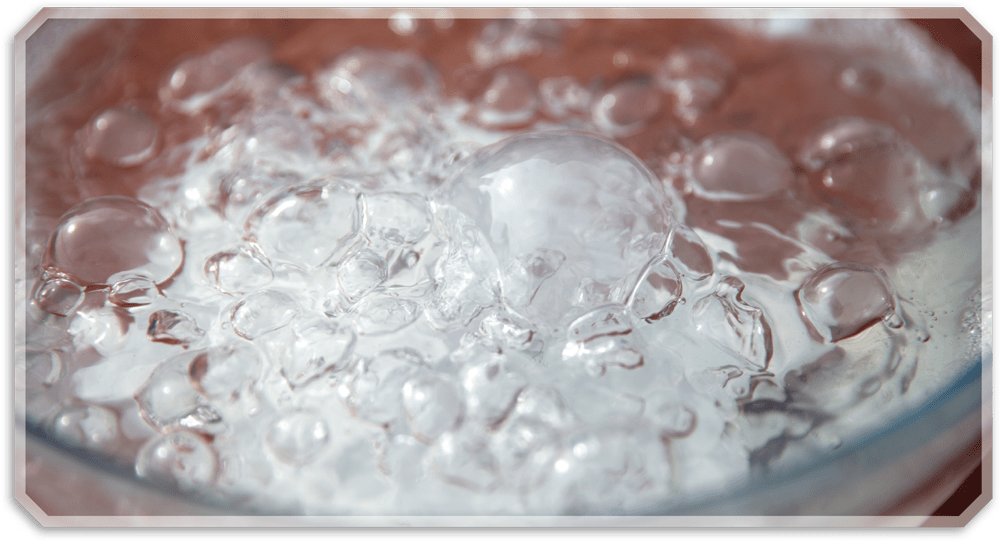
The supercooled water didn’t change into ice because it had no point to start the formation of ice crystals. When it was poured onto the ice, the ice became that point and ice began to form.
Here are some other quick science activities you can enjoy this summer that can be done with simple household materials:
Set the jar in an area where it won’t be disturbed. Check the string daily. Note the changes. Let the jar set for a couple weeks or until the water evaporates. Observe your crystals with a hand lens. What shape are they? Are they the same shape as the salt you started with? Try this again and add a bit of food coloring.
Next, carefully drop a cork into the glass. What happens to the cork? Repeat with a grape and a rock. What happened when you dropped them into the glass? Did they float? Sink? What did your experiment tell you about the density of the objects?
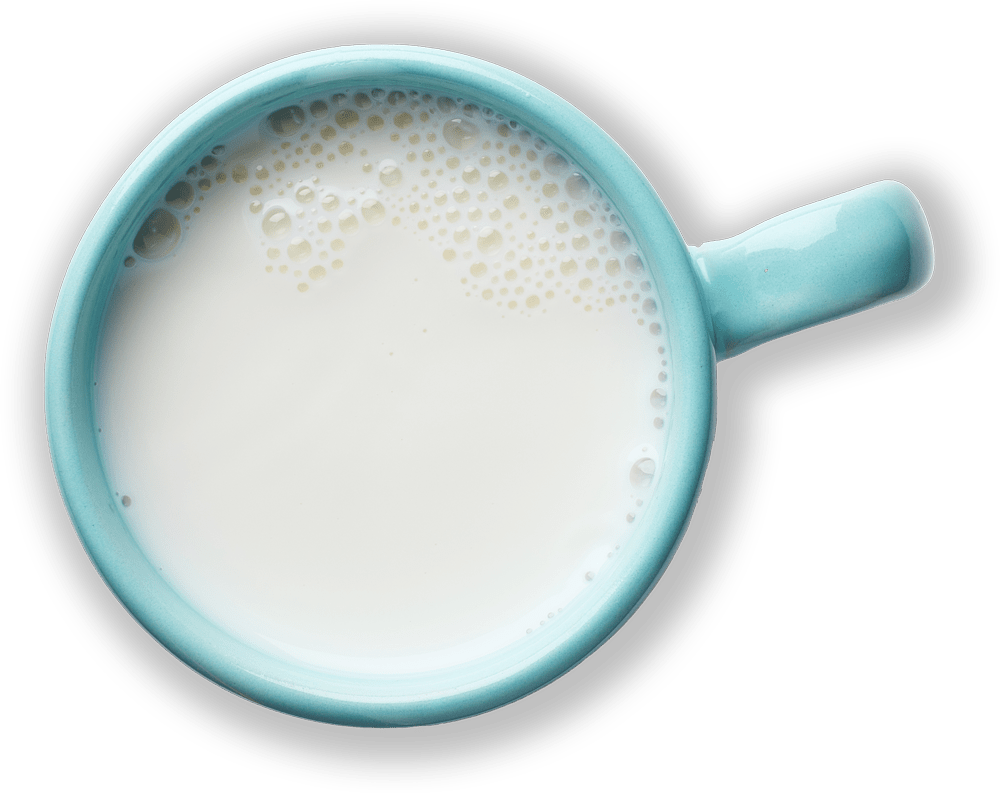
What happened? The acidic vinegar reacted with the milk proteins and formed long-chained molecules, similar to the polymers that form plastic, which collected as a solid.
What happened? The initial lemon juice is invisible on the paper. However, when heated, the acid in the lemon juice oxidizes and turns brown.
Get three more activities in the Monthly Toolkit—a print subscriber exclusive!
